Let’s be honest—if you’re working with visuals every day, your laminator probably gets more action than your kettle. Symbols get handled a lot—stuck, peeled, posted, prodded, and occasionally chewed. So how do you make them last longer, without doubling your workload?
Here are six practical symbol-prepping tips that’ll save your visuals from fraying, bubbling, or giving up halfway through the term.
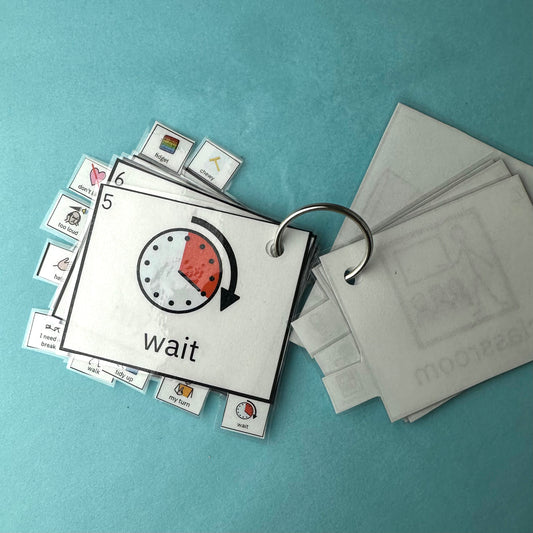
1. Glue Hack for Super-Sturdy Symbols
Cut your paper symbols first (yep—before laminating), then add a teeny dot of PVA glue on each symbol before placing inside the pouch to stop them slipping around. Laminate, then cut again, leaving a 2–3mm clear plastic edge all the way around to seal the symbol. This makes a huge difference in durability and stops those dreaded peeling corners.
2. Don’t Overheat Your Laminator
A laminator that’s too hot can cause wrinkling or air bubbles inside the pouch—especially if you’re using glue or thicker card. Keep it on a medium setting if adjustable, and always test on scrap first if you’re unsure. *a temperature guide can usually be found on your laminating pouch box.
3. Speed Up with the Triple Stack Trick
Save time by feeding three laminated sheets stacked on top of each other. If your laminator’s decent quality, it’ll take them just fine—and you’ll cut your prep time down by two-thirds. Here’s a link to mine and it works!
4. Build a “Laminating Train”
Use a tiny strip of tape to lightly connect your pouches end-to-end, and feed them through the laminator like a conveyor belt. You won’t need to manually reload each one, and you’ll free your hands for cutting, sorting, or prepping the next batch.
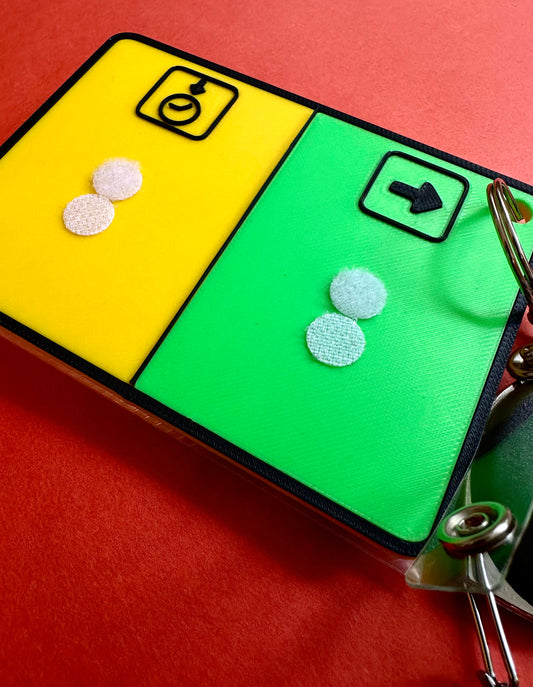
5. Stick It Anywhere
Use sticky-backed Velcro to attach symbols to walls, furniture, trays, or visual timetables. You can even rotate schedules and now-next boards quickly without messing with blu-tack or magnets. I also use Velcro coins to connect the symbols to the schedule or visual card.
6. Print on Card for Extra Strength
Want your visuals to last longer and feel sturdier? Print directly onto cardstock (or back your paper symbols with card before laminating). It gives a more tactile feel and makes visuals easier for learners with motor difficulties to grasp and manipulate. I’ve even backed paper symbols with wooden building blocks before now to support motor skills and access!
BONUS: Ready to Save Time?
If you’re short on prep hours and long on to-do lists, we’ve got printable visuals and symbol packs ready to go. Check out WidgitOnline 30 day free trial or grab out Visuals packs to access a full library of classroom-ready printables.
For more classroom hacks, real-talk tips, and practical SEND strategies, head to the Sensory Classroom podcast—or follow along on Instagram where we share ideas just like this every week.